What equipment to use.
At what angle to pull to use the equipment and ourselves most efficiently.
Where to pull - where to attach pulling devices, and how to make them easy to handle.
We knew that if we just attached the mainsheet to the top of the mast and pulled, we would end up trying (probably without much success) to shorten the mast. We had to either get the mast UP some to begin with (which was the original trouble), or find a way to PULL up.
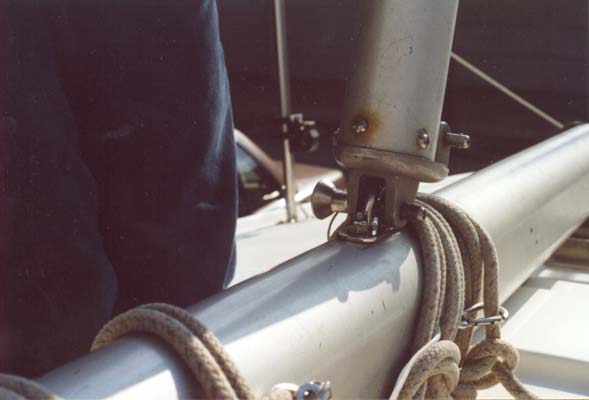
Using the boom as a "gin pole" solved several problems. Not only did we get a better angle from which to pull, but we did it without adding more STUFF to Anungoday's inventory. There was a convenient pad eye on the forward side of the mast, placed there for attaching the whisker pole. The boom normally connects to the aft side of the mast via a locking pin, which coincidentally also fits the pad eye. (The original pad eye was plastic; for this project we replaced it with a stainless steel version.)
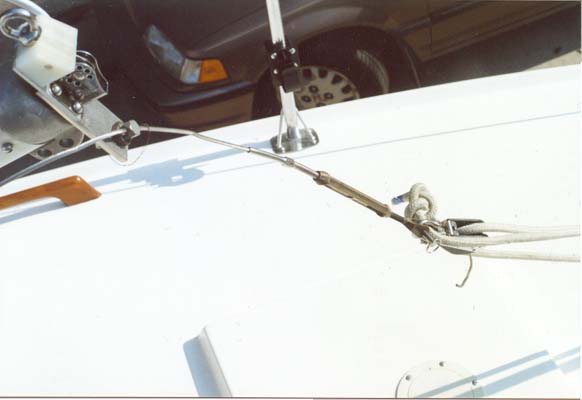
The only remaining challenge was attaching the pulling device to the boom/gin pole and then to the mast. We decided to use the forestay for the mast-to-boom part, though one of the halyards would probably work as well. You can see the split-bolt that attaches the redavination at the end of the boom to the forestay. The split-bolt attachment allows the forestay to be used despite the fact that it is too long (though just the right length for a forestay). The bitter end of the mainsheet is knotted and attached to the end of the forestay via the shackle that also holds one of the mainsheet blocks.
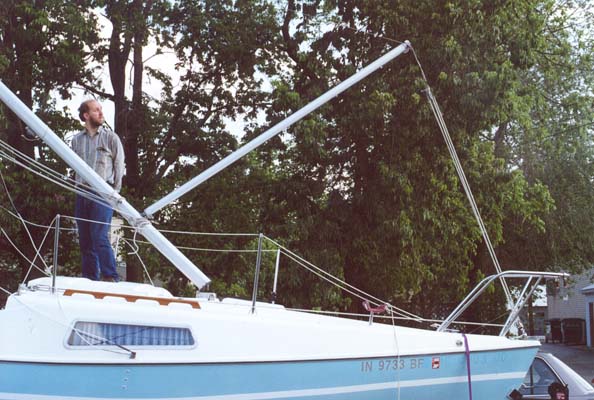
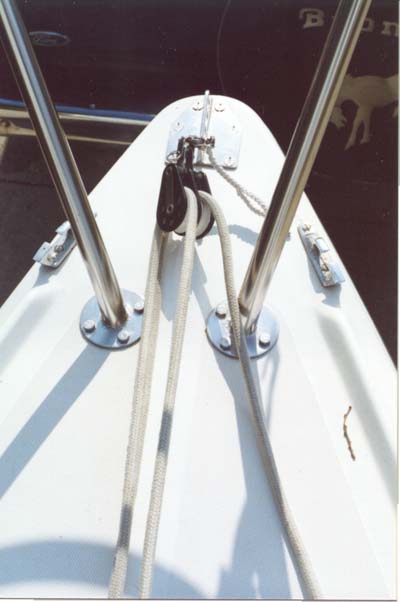
It helps to have a second person around to steady the boom as the pulling begins. That person can also check the electrical fittings during pauses as the mast is hauled, and hold the mast in its upright position while the forestay is secured at the bow. But with a cleverly placed winch and cleats, one person CAN do this alone.
home Anungoday keel motormount electric motor flares and extinguisher mast cabin lights pop-top hinges